How to Stream with Elgato Stream Deck

Elgato released Stream Deck just recently (2017) but it didn’t take long before it gained popularity for content creators. While not a must-have, It has become an integral tool for people who want to be able to do more with their stream. This post is a step-by-step guide on how to use the Elgato Stream Deck with XSplit Broadcaster.
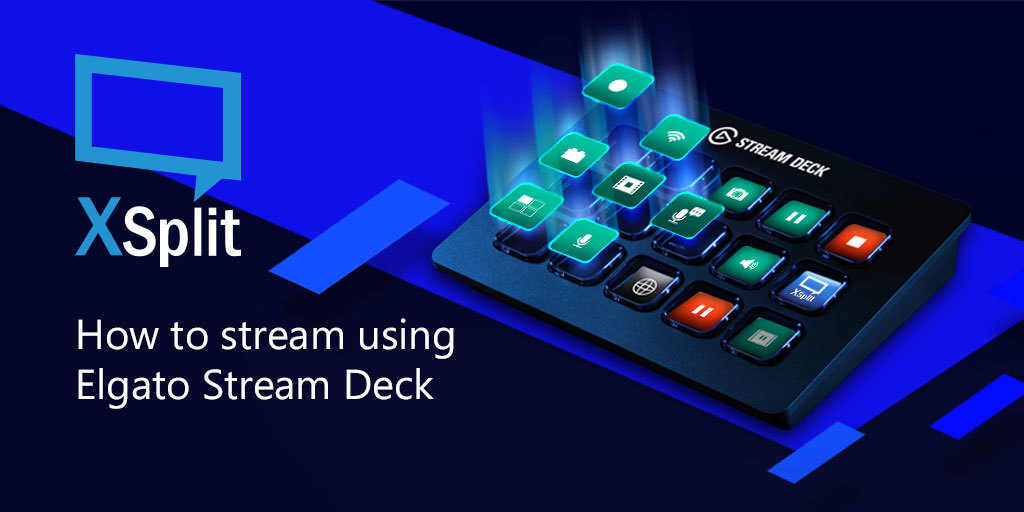
How to stream using Elgato Stream Deck

First of all, make sure you have the latest version of both XSplit and the Stream Deck software from Elgato.
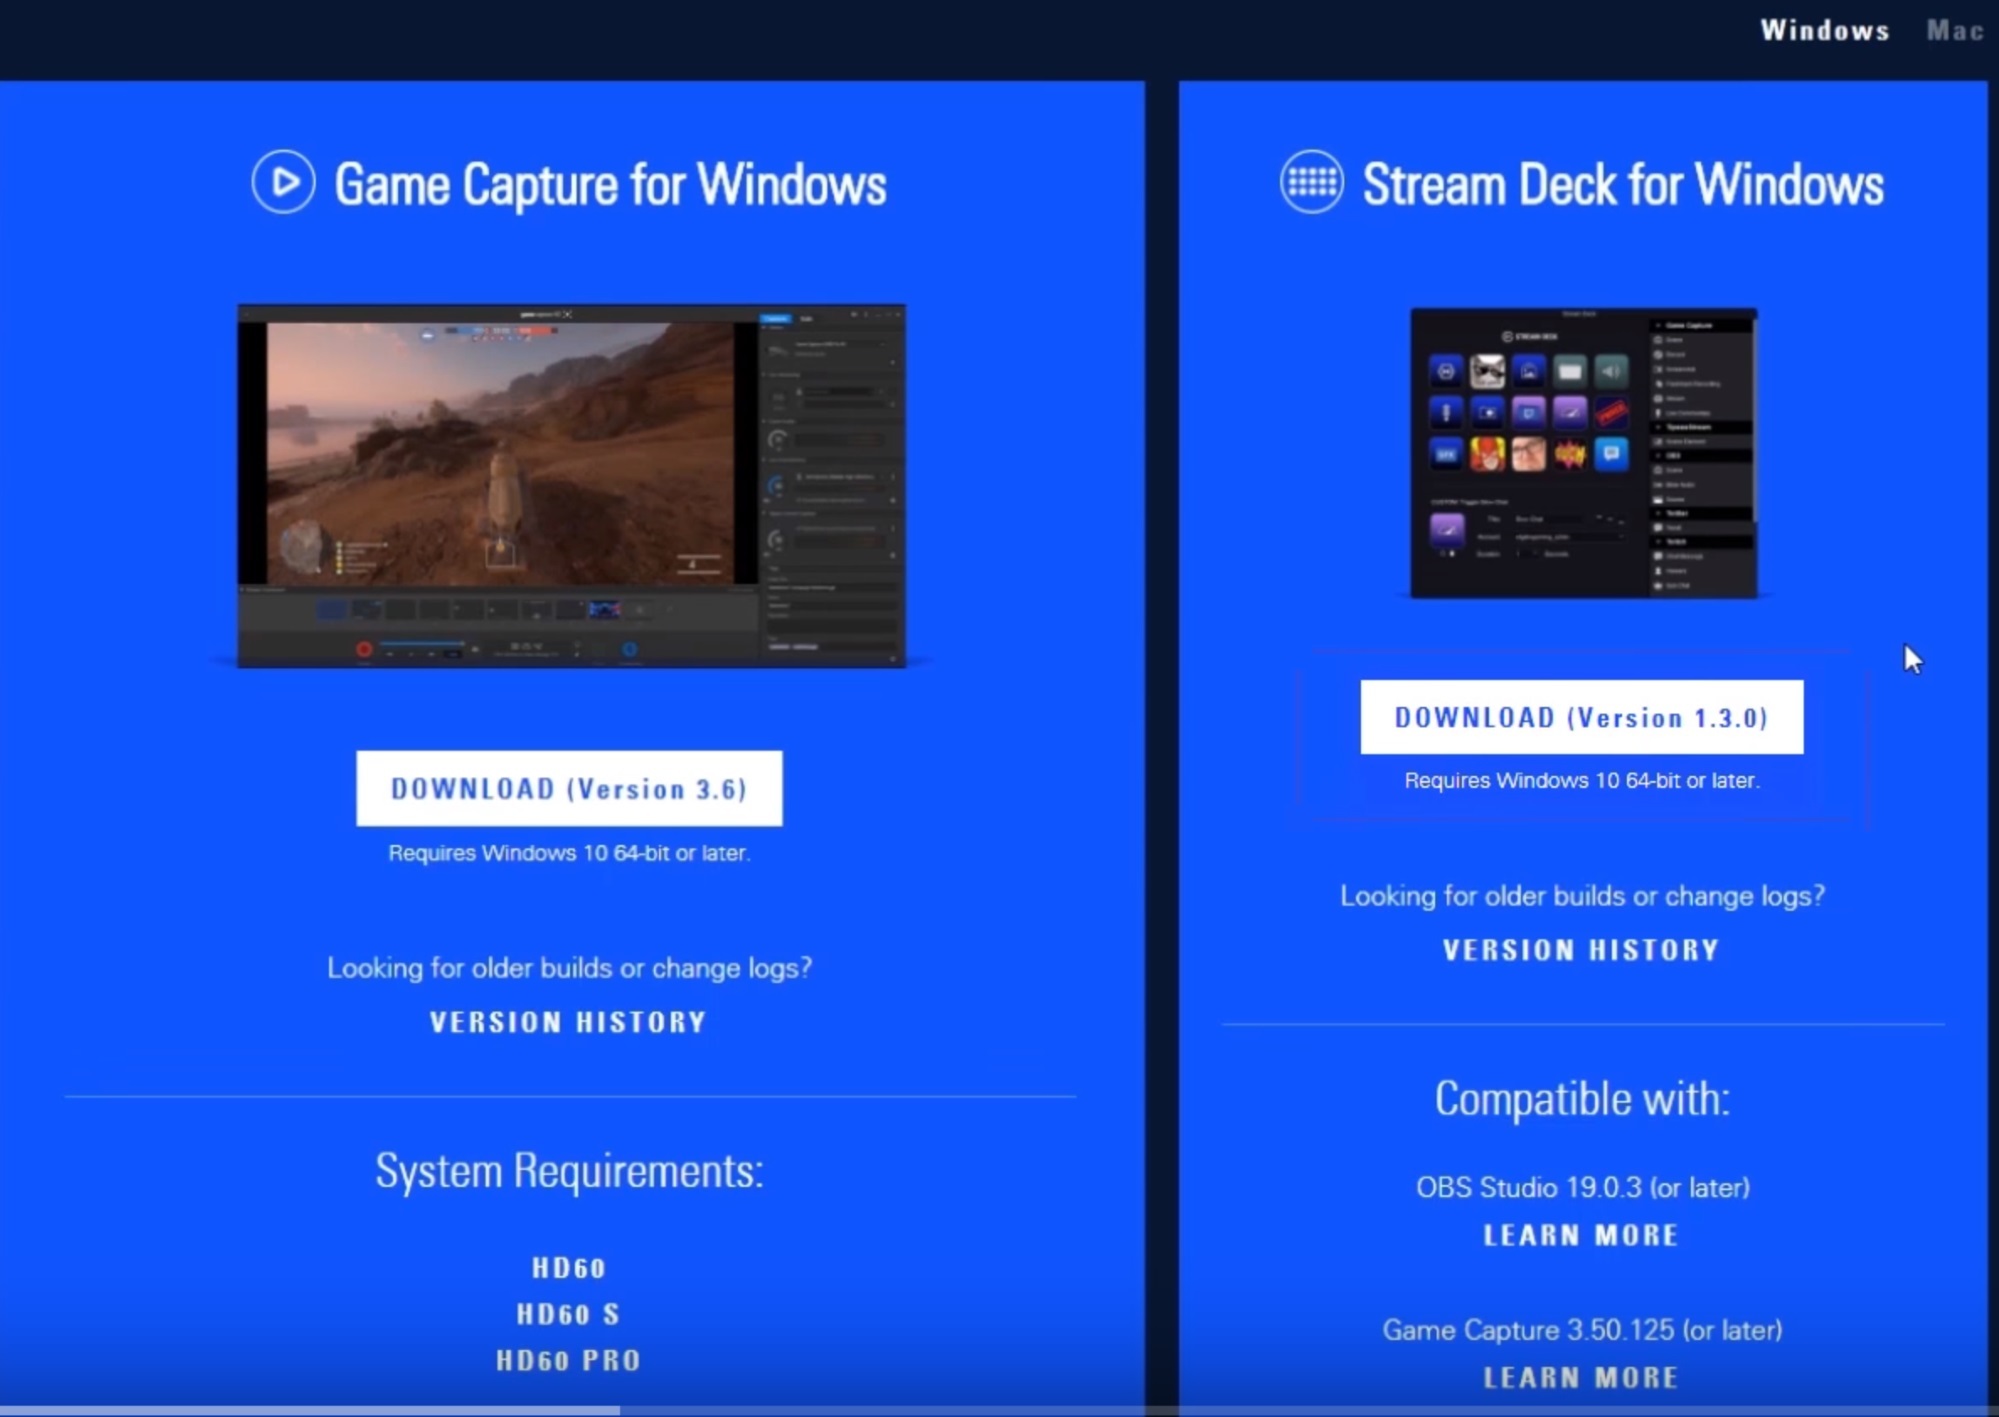
XSplit Broadcaster and Elgato Stream Deck software

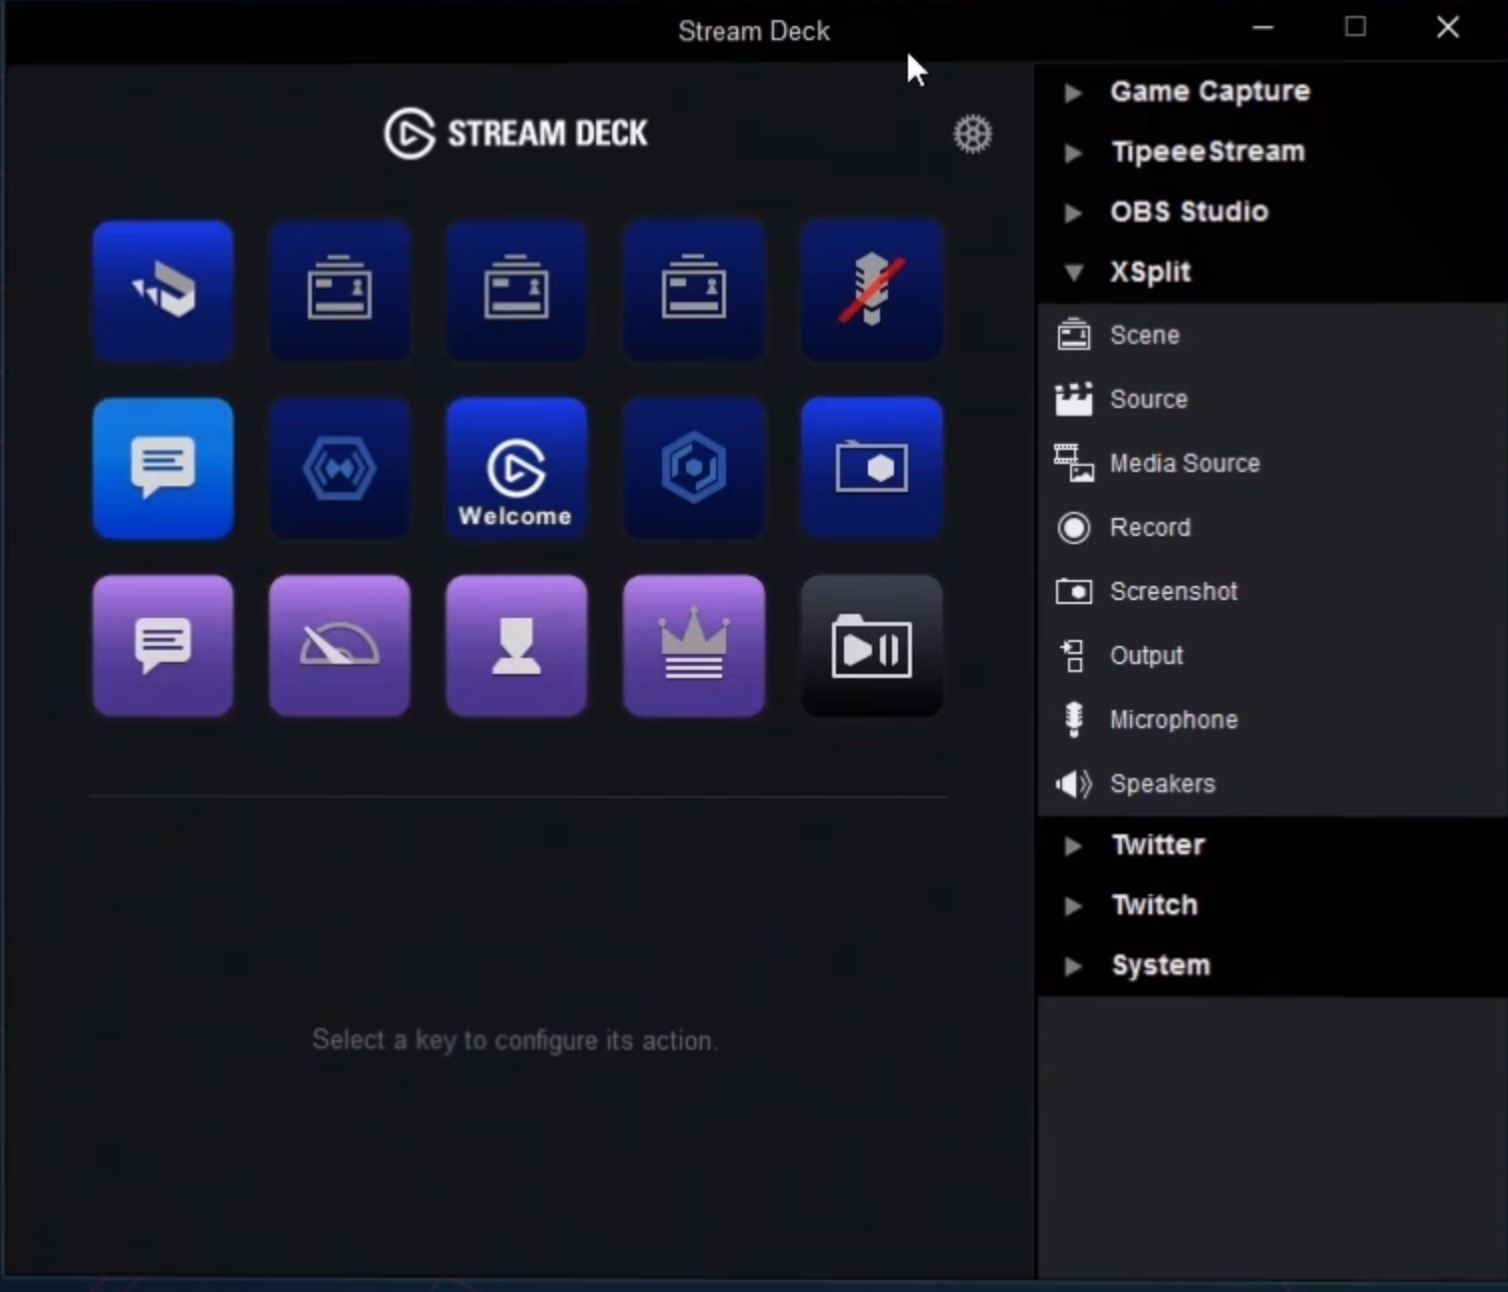
Once you have both installed and have XSplit opened, you will have an extension called the “Elgato Stream Deck” which will allow XSplit to interface with the hardware. Open the Elgato software as this is where you will set things up for controlling various elements of your stream in XSplit Broadcaster.
Elgato Stream Deck

The procedure is very similar with every function that you want to set up. It mostly involves assigning the function to a button, labeling and adding a thumbnail to each, and then setting up the specific options for each functions. Here’s how to set them up.

Scene switching

This is a pretty handy option if you want to do scene switching via your Stream Deck.  To start, drag the scene function to a button in your Stream Deck. In the bottom menu, you can name it and select which scene it goes to when pressed.

Toggling sources

If you want to enable or disable your scene sources, then this is the option for that. Drag the source function to the layout then at the bottom, select the source that you want to toggle. There is a ‘toggle linked sources’ option too for sources that are linked between scenes. This allows you to toggle sources regardless if the scene is active or not.

Record/Output

This option allows you set up recording and streaming on your Stream Deck. The procedures are pretty much the same and the only difference is with Outputs where you will select where you want to output your stream if you have more than 1 channel to output it to.

Microphone/Speakers

You can also assign a function to your Stream Deck that can toggle microphone or speaker audio and they work pretty much the same. For microphones, there is an added option for push to talk should you wish to set it up like that.

Hope this guide helps you with setting up Elgato Stream Deck with XSplit Broadcaster. If you’re already using it, we’d love to know how you’re utilizing it. Share it in the comments section below.
How to Stream to Mixer With XSplit Broadcaster

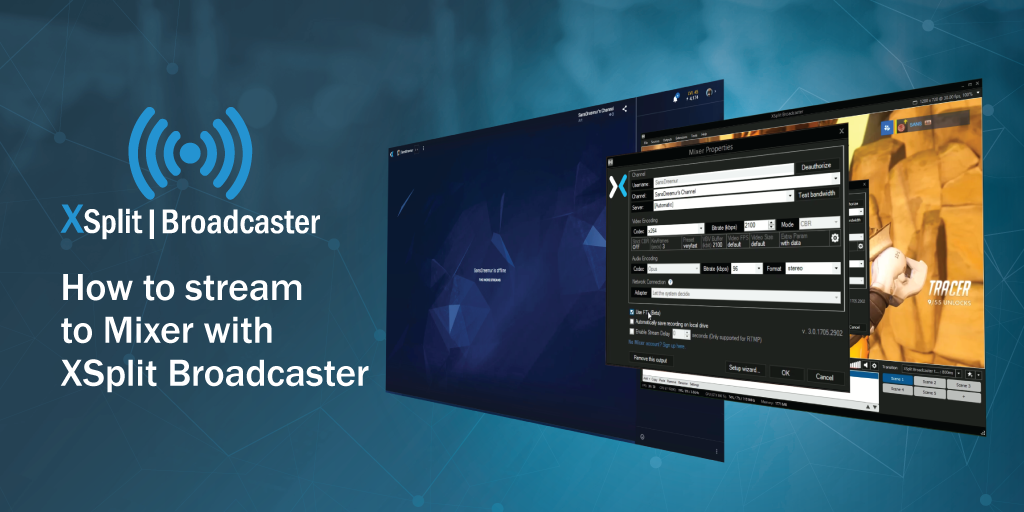
Mixer has grown since its days as Beam and the underlying technology behind it is still as exciting as the first time we saw it. FTL allows streamers to have next to no latency between them saying something and their audience hearing it, and with XSplit it couldn’t be easier to take advantage of this. So, friend, let’s take a look at how you can stream to Mixer with XSplit Broadcaster.

How to Stream to Mixer with XSplit Broadcaster

To get started with Mixer you’re going to need to set up an account, which is easily done on https://mixer.com. Next, open XSplit Broadcaster and select the Outputs tab at the top of the window.

XSplit Broadcaster Outputs Tab

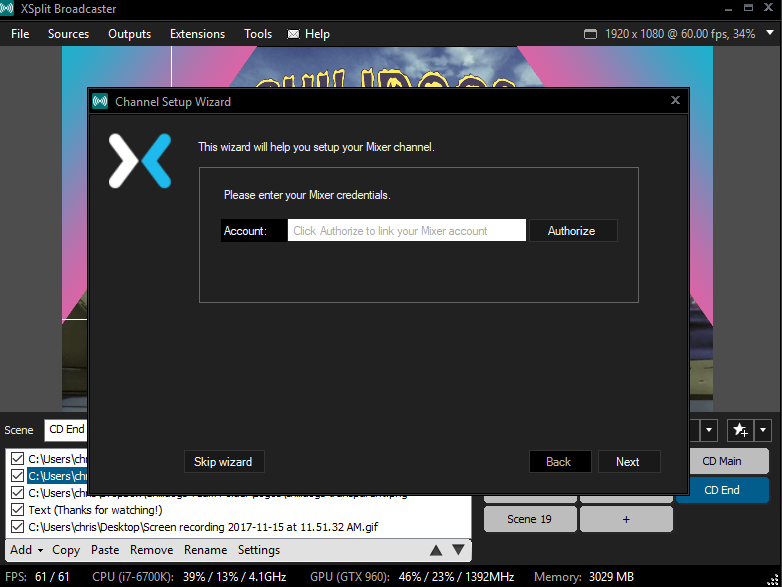
Select “Set Up New Output” and then Mixer. From here you’ll be asked to enter your Mixer credentials which will have you sign in to the account you just created. From here XSplit will work everything out for you and let you know your recommended stream settings.

XSplit Broadcaster Channel Setup Wizard

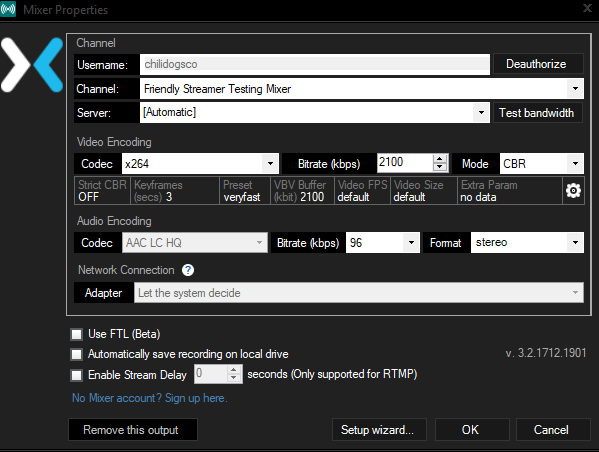
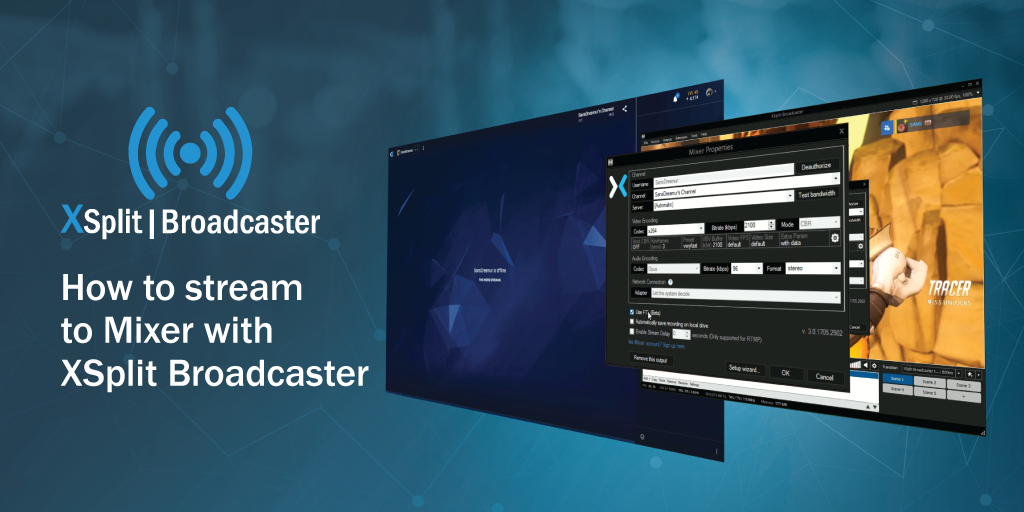
The next window that opens up will have all your settings filled out, if you have a good enough connection you can also check the “Use FTL (Beta)” button which will allow you to take advantage of Mixer’s low-latency FTL streaming protocol.

XSplit Broadcaster Mixer Properties

Once you click okay, your account will be added and you can now stream directly to Mixer from XSplit Broadcaster which will have your Mixer account ready to go in the Outputs menu!

Now you’re all set up, enjoy streaming and let us know how you get on!

How to Specify Extra Encoder Parameters

It is possible to override or add new encoder parameters using the syntax &ex:key:value. It is definitely NOT recommended for everyone to use this functionality – in the matter of fact, unless you are very technical and have a very good reason to fiddle with this  (and you probably do not) then leave the settings alone. (NOTE: We do not provide support assistance for extra encoder parameters)

For x264:

Most parameters supported by the x264 encoder can be found here:

X264 Settings

Simply apply the &ex: syntax instead of — syntax.

For example, “&ex:profile:main” will apply main profile restrictions. “&ex:profile:main&ex:tune:animation” will add tuning for animation content.

Not all x264 options may be supported and please note that any settings you make will override settings from the GUI. So for example if you set “&ex:keyint:60” then you will have a max GOP interval of 60 frames no matter what setting you may have set in the GUI. 

For Intel Quick Sync:

What follows are the parameters that we currently support for Quick Sync. Take note that some parameters behave differently or are ignored depending on the Rate Control Method set.

H264 Profile

Param Name: profile
Values:
66 – Baseline
77 – Main
88 – Extended
100 – High

Example: &ex:profile:100

GOP Pic Size (Key Frame Interval)

Param Name: goppicsize
Usage: The number of frames in a group of pictures which also indicates how often a key frame is inserted.

Example: &ex:goppicsize:120

Rate Control Method

Param Name: rc_method
Values:
1 – Constant Bitrate (CBR)
2 – Variable Bitrate (VBR)
3 – Constant Quality Parameter (CQP)

Example: &ex:rc_method:3

Target Kbps

Param Name: targetkbps
Usage:
In CBR – The bitrate used
In VBR – The target bitrate

Example: &ex:targetkbps:3000

Max Kbps

Param Name: maxkbps
Usage:
In VBR: The max bitrate allowed

Constant Quality Parameter Settings

Usage: Only for CQP
Param Names:
qpi – target quality for i-frames
qpp – target quality for p-frames
qpb – target quality for b-frames

Usage:
Should normally be set to have the same values for simplicity. Value provided will approximate the quality of x264’s crf setting but with a bigger file size.

Example: &ex:qpi:23&ex:qpp:23&ex:qpb:23