새로워진 세상. 안전한 재택 근무 환경.

2020년에는 전 세계가 큰 영향을 받았습니다. 일상과 업무 환경이 뒤바뀌어버린 지금은 우리가 원하던 것도 아니었고 준비하고 있던 시대도 아니었습니다. 하지만 적응은 해야하기에 부정적인 영향이 닥치면 맞서 싸우는 것과 같이 새로운 세상에 적응할 능력이 필요하게 됩니다. 모든게 다 100% 회복되기에는 확실치 못하지만 모두의 안전과 평화를 위해 어떤 점들을 중요시 여겨야 하는지 살펴보겠습니다.

A stencil of the smiley face emoji with "stay safe" written underneath it on the floor  is part of adjusting to the new normal.
Photo by Nick Fewings on Unsplash

세로운 세상에 적응하기 위한 도전

새로운 환경과 일상이 자연스러워 지려면 시간이 필요합니다. 갑자기 새로운 환경에 적응하라 하면 혼란스러울 수 밖에 없습니다. 많은 사람들이 도움이 필요할 것이며 또한 미리 적응한 사람들은 아직 혼란속을 겪고 있는 사람들에게 본보기가 될 줄 알아야 합니다. 하루 주어진 할당량 및 생산량에 지장을 주지 않으려면 잠시 동안 휴식을 취하며 재정비를 할 시간도 중요하게 여겨야 합니다.

저희 회사 직원들은 전 세계에 위치하고 있습니다. 이러한 상황에서는 각 국가의 기준 안전 표준도 알아야 하며 문화적 차이도 존중해줘야 합니다. 이에 대응하기 위해 회사의 관리자들은 대부분의 직원들이 집에서도 업무를 진행할 수 있도록 최대한 지원을 해주는 전략을 내세웠습니다. 업무에 필요한 장비들은 회사에서 각자의 집으로 전달되기도 했습니다. 신속하게 결정을 내린 결과 업무에 큰 지장을 주지 않고도 각자의 책임과 일을 진행할 수 있게 되었습니다. 이 기회로 인해 많은 직원들이 집에도 업무에 집중할 수 있도록 알맞는 작업 환경을 만들기에 신경쓰고 있습니다.

원격으로 업무를 진행하는 다양한 방법들을 고려해봤습니다. 아직 저희들도 완벽하게 적응한 것은 아니지만 주어진 시간들을 모두 효율적으로 활용할 수 있도록 노력하고 있습니다. 모든 업무를 전체적으로 원격으로 진행하려는 결정은 상황에 따라서 다르겠지만 어느정도 재택 근무 직원들이 늘어날 전망으로 보는 지금은 이에 알맞는 업무 전략을 내세워서 피해를 최소화 하는것이 중요합니다.

Someone moving their office equipment in to their home as a part of adjusting to the new normal.
Photo by HiveBoxx on Unsplash

XSPLIT 직원들의 적응 방법

저희도 마찬가지로 처음엔 당황하기 마련이었습니다. 모든 직원들의 상황을 파악해야 했으며 동시에 업무에 지장이 가지 않도록 모든 절차를 확인할 수 있는 방안을 제시해야 했습니다. 그나마 엑스플릿에서는 직장 동료들 과의 신뢰가 깊기 때문에 새로운 업무 전략을 제시하는데 큰 어려움은 없었습니다. 직원들이 자발적으로 그들의 업무 시간 및 활동 시간들을 조절하며 주어진 업무들을 속속히 이끌어냈습니다.

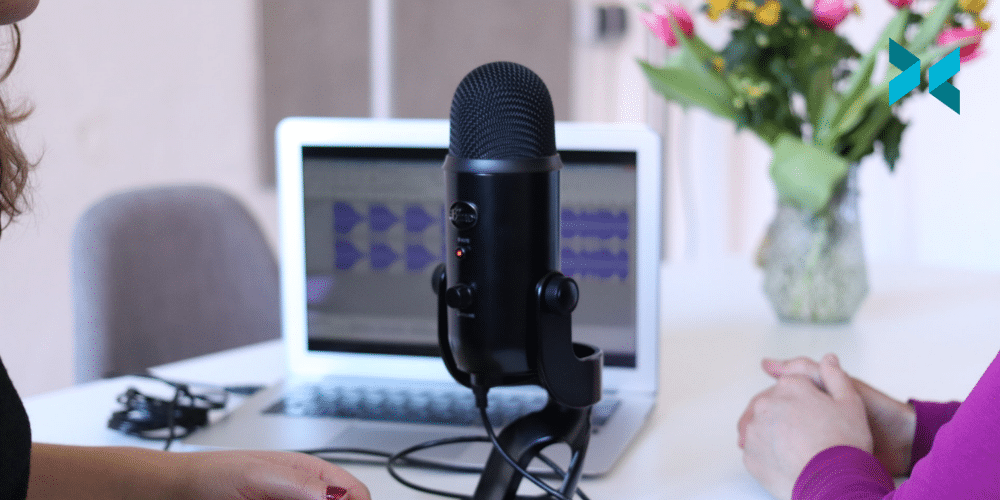
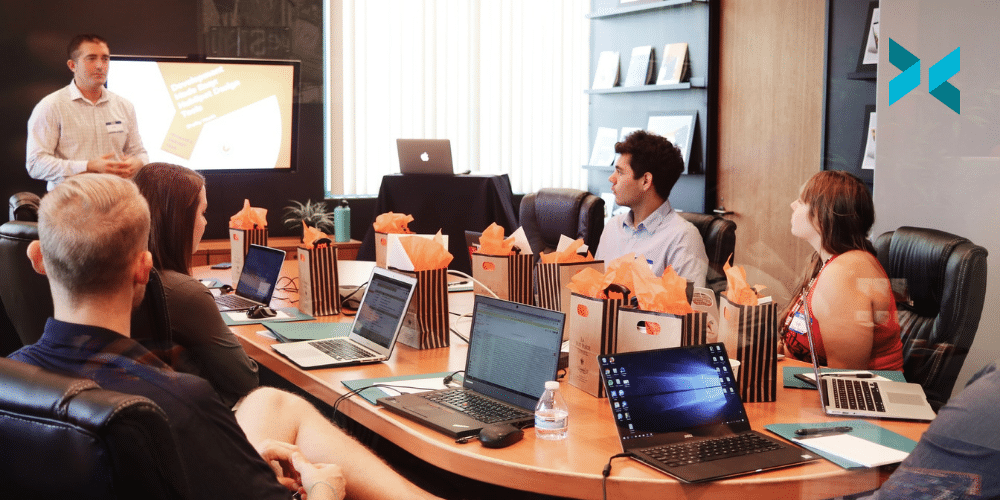
보통 회사 회의실에서 만나서 진행하던 모든 직장 내 회의들이 화상 연결 비디오 채팅으로 변형되었습니다. 이를 관리하기 위해 온라인 캘린더와 함께 이러한 일정을 알리는 이메일 구성을 개선해야 했습니다. 게다가 이 모든 과정이 엑스플릿의 새로운 제품인 엑스플릿 프레젠터를 준비할 즈음이어서 최대한 빨리 대부분의 작업 환경 개선에 신경을 써야 했던 상황입니다. 이제 전 직원 회의때마다 시켜 먹었던 피자와 군것질, 간단한 음료수 등을 나눠 먹던 것들도 모두 각자 직원들의 집에 배달해주는 단계까지 이르렀습니다. 그 때의 시절을 잊지 않는것도 중요하다고 생각해서 고안한 방법입니다. 다행히 온라인 상에서 만나면 모두 맛있게 피자를 먹고 있는 모습이 재미있었습니다.

업무의 우선도 역시 변형이 있었습니다. 무엇보다 안전과 건강이 최우선이었으며 각자의 작업 환경이 청결하고 방역되었는지 각 지역의 제한적인 요소들을 모두 파악하기도 했습니다.

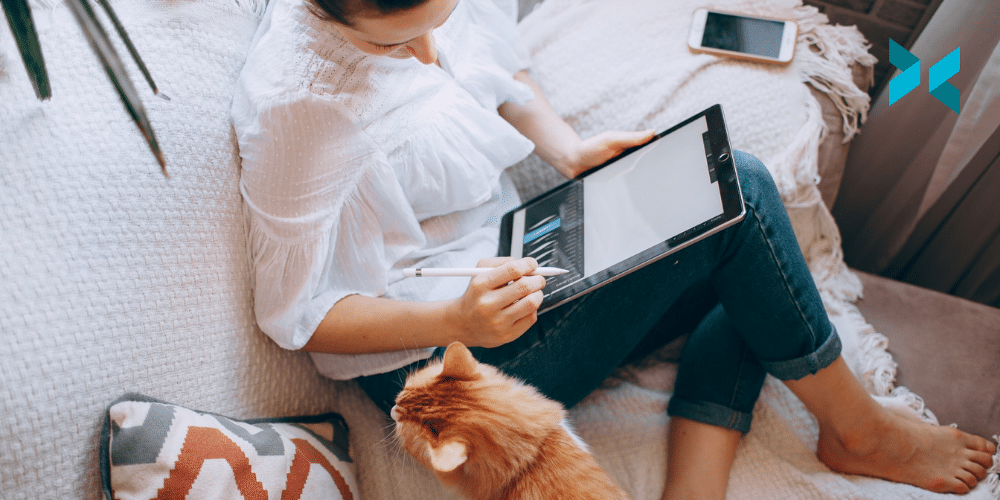
큰 회사 건물에서 작은 방 안에서 모든 업무를 진행해야 한다는 부담감이 있었지만 일부 직원들은 사용하지 않던 창고를 개조하거나, 침실의 구도를 변형하여 작업과 휴식을 동시에 취할 수 있는 공간을 만들기도 했습니다. 모든 직원들이 조금씩 각자 할수 있는 방법들을 동원하여 최대한 편하고 최적화된 업무 환경을 만드는데 노력했습니다. 일부 직원들은 회사 컴퓨터를 집에다 옮겨두었고 특수 장비들 역시 일부 직원들에게 전달되어서 업무에 지장이 없도록 아이템 구성을 기록하기도 했습니다.

따지고 보면 대부분의 업무는 집에서도 수행하는 것이 가능하지만 사람에 따라 환경적인 요소에 영향을 받는 정도가 모두 다를 수 있습니다. 엑스플릿에서는 다행히도 모든 직원들이 열린 마음으로 각자를 격려해주었고 피할 수 없는 직원 회의도 자연스럽게 진행될 수 있도록 화상 연결 프로그램을 사용하는 데에도 큰 무리가 없었습니다. 게다가 각 부서마다 각자 동료들에게 안부를 묻게 되는 습관도 가지게 되었습니다.

Someone working from home on a laptop at a desk adjusting to the new normal.
Photo by Corinne Kutz on Unsplash

집에서 일을 하다니…

이미 많은 회사들은 재택근무제를 실행하고 있습니다. 아무도 이러한 일이 벌어질 지라고는 상상하지 못했겠지만 시간은 흐르고 일은 계속되야 하기에 신속히 업무 전략을 바꾸는 것도 일이 되어버렸습니다. 하지만 현대 기술력과 융통성을 통합하여 많은 업무들이 ‘다행히도’ 집에서 진행하는 데에 큰 문제가 없을 뿐 더러 적응하다보면 가족과의 시간도 더 소중하게 여겨질 것이며 더욱 시간을 활용하는 효율을 배워나가게 되는 것 같습니다. 세상이 어지럽더라도 맡은 일에 대해 꾸준히 진화하는 업무 환경에 적응하는 여러분들이 다가오는 미래 사회에도 큰 기여를 하는 것이라 생각합니다.

Zoom calls from home, a big part of adjusting to the new normal.
Photo by Chris Montgomery on Unsplash


온라인 프레젠테이션과 Zoom 화상 연결시 사용할 수 있는 저렴한 마이크

많은 사람들이 대부분 집에서 작업하거나 회사 업무를 재택으로 진행할 상황이 점점 정상화 되어가고 있습니다. 학급 친구들과 직장 동료들과 소통하기 위해 화상 연결을 통한 회의를 여러번 경험하셨을 겁니다. 이러면서 느끼게 되는 부분 중 하나는 더 이상 노트북 컴퓨터나 태블릿 PC의 마이크가 그닥 깨끗한 음질을 전달하지는 않는다는 것을 경험하셨을 겁니다. 조금 더 원활한 소통을 위해서 새로운 마이크를 장만하려 결정한다면 어떤 마이크를 선택해야 할 지 살펴보겠습니다.

편의에 최적화된 USB 연결 마이크

USB로 연결하는 마이크는 대부분 평균 이상의 음질을 자랑하며 연결 후 바로 사용이 가능하기에 편의에도 중점을 두고 있습니다. 자주 이동하거나 큰 자리를 차지하지 않는 마이크로서 TKGOU Ture 플러그 앤 플레이 홈 스튜디오 USB 마이크 정도로 충분합니다. 아마존 같은 온라인 쇼핑몰에서 구매가 가능하며 맥 (Mac)운영체제 및 모든 컴퓨터에서 사용이 가능합니다. 기능 역시 간편하며 자체 음소거 버튼이 있어서 필요시엔 빠르게 음소거 할 수도 있습니다.

A person sits at a desk with a simple USB mic connected to a boom arm using a PC and enjoying one of the best budget mics.
Photo by ConvertKit on Unsplash

깨끗한 음성을 위한 선택: 컨덴서 마이크

음질이 가장 우선시 된다면 컨덴서 마이크를 선택하실 수 있습니다. 컨덴서 마이크는 녹음 스튜디오 환경같은 전문적인 공간에서 많이 사용됩니다. 일부 잡음을 억제해주며 화상 회의시 불필요한 잡음들을 빼고 온저히 내 목소리만 감지해주기에 듣는 사람들의 입장에서도 편리합니다. 블루 예티 제품의 마이크는 다수 인원의 화상 회의시 사용되는 산업 평균이 되어가고 있지만 가격대는 만만치 않게 느껴질 수 있습니다. 예산이 제한되어 있다면 블루사의 스노우볼 마이크도 괜찮습니다. 약간의 레트로 감성이 있으며 음질에서는 뒤쳐지지 않는 제품입니다. 화상 회의 전용 마이크 MTFY 회의용 마이크도 있으며 이 특수한 마이크는 다방면 방향의 음성을 모두 감지하는 기술이 탑재되어 있습니다. 가격도 괜찮은 선에 놓여 있습니다.

즉 Zoom, Discord, Skype 같은 프로그램을 사용할 땐 Yeti 마이크가 괜찮습니다. 하지만 가성비를 고려하자면 Blue Snowball이 가장 적합합니다. 물론 현재 작업의 환경, 예산의 제한등을 잘 따져본뒤 본인에게 알맞는 마이크를 선택하는 것이 최고입니다.

A headset microphone sat on a desk next to a laptop is one of the best budget mics.
Photo by Petr Macháček on Unsplash

가장 편리한 헤드셋

헤드셋은 콜센터 직원들이나 게이머들만의 고유물이 아닙니다. 헤드셋을 착용하므로서 주변 환경 잡음을 최소화 하고 구성 인원들의 목소리에 집중할 수 있기 때문입니다. 특히나 야외 혹은 도심에 살고 있다면 더욱 추천하는 바 입니다. 마이크가 연결되어 있는 헤드셋을 구매한다면, 마이크 + 이어폰을 동시에 구매하는 격이 되므로 이 역시 가성비 면으로서 추천하는 조합입니다.

헤드셋의 종류도 다양합니다. 잡음 제거를 최적화 하게 해주는 Nigecue PC USE 노이즈 캔슬링 헤드셋 같이 마이크도 꽤 괜찮은 헤드셋을 추천합니다. 오랜 기간동안 착용하더라도 편리한 착용감을 자랑합니다.

이 가이드를 통하여 본인에게 적합한 마이크와 헤드셋을 선택하셨으면 좋겠습니다. 재택근무를 위한 특정 장비의 구성 및 업그레이드를 관련한 가이드도 참고해보세요!

How To Easily Create And Give An Interesting Presentation

With many of us now clocking up more screen-time than ever before, the stakes have been raised in terms of what we expect from online presentations. Of course, we need to be informed but we also want to be entertained. Creating a Powerpoint presentation is quite straightforward, but the downside is that it can also come across as a bit boring and uninspired, not a very interesting presentation. With the help of XSplit Presenter, you can easily make a presentation that will be more memorable and enjoyable for your audience.

A variety of media

The secret to creating an interesting presentation is to keep things varied. Having some slides with bullet points is a start, but you should also try to include pictures, graphs, and even videos. XSplit Presenter makes it easy to pull together information from lots of different sources, including screen shares, videos, and live clips (for example, from your webcam). This will help maintain your audience’s attention and allow you a lot more control in how you get your point across. A good tip to remember is to always demonstrate something if you can – running through a process on your computer is far more engaging and memorable than merely describing the steps.

Someone giving a presentation in front of a screen after learning how to make a presentation interesting.
Photo by Matthew Osborn on Unsplash

Make sure your media is complementary

It is also important to prevent your presentation from becoming repetitive, you want an interesting presentation after all. For example, don’t just show a slide of bullet points then spend time reading them out one by one. Instead, use them as starting points for your own narration (think of them as subject headings, not as a teleprompter). If you decide to show a video clip, providing your audience with a summary afterward can be beneficial, as can explaining what’s happening in the video as it plays. However, your narration shouldn’t merely point out the obvious but should instead give some insight into the thoughts behind the process (for example, don’t say “Click on settings, then size, then type 25”, instead say something like “We want to set the size to be easily read, but not overwhelming – perhaps to 25 point”)

Make sure the presentation is smooth

Before giving a presentation, it’s worth running through it a couple of times first, recording yourself wna watching it back, something XSplit Presenter can do, can make a big difference. This will help you to highlight any points where you might struggle, whether that is because you aren’t sure of a particular detail or just lacking confidence in your delivery. If you do happen to find sticking points, you can either research them in more detail or continue to practice until you are happier.

One issue you won’t have to worry about is keeping your information and media pieces ready and in the right order because XSplit Presenter will do that for you. Once set up correctly, it will ensure your next slide is ready to go and that you can smoothly switch to a screen share or webcam view (or both at the same time with your webcam overlayed on top!) with the press of a button. This will give your audience a seamless and professional experience and means that you can keep the focus on your delivery, which always makes for a more interesting presentation.

Though being tasked with giving a presentation can initially seem overwhelming, it doesn’t have to be difficult or stressful with XSplit Presenter. Here are some more useful tips for creating more memorable and entertaining remote deliveries.

XSplit VCam on Mac is available now with our new macOS release!

XSplit VCam is now available on Mac! Now you can use our AI-powered background removal and replacement program on macOS devices!

Getting started is easy, head over to the VCam landing page and download and install VCam. You can either log in with your XSplit account or create a new one if this is your first time using VCam. Clicking “skip login” will let you use VCam without logging in, however, this won’t be connected to your Premium account, and while can use all the features there will be a watermark.

Now you’re in, you can blur your original background, remove it completely or use a media source to replace it with VCam on Mac. You can even add blur to this replaced background if you wish! Find out more about setting up VCam on Mac in our getting started video.

We’ve been working on bringing VCam to Mac for some time now and this is only the beginning! Be sure to reach out if you have any comments or questions here in the comments section below, or on our social channels. If you’re having any problems, our customer support team is available 24/7 (just click the speech bubble in the bottom right-hand corner of your browser window on the support page) right here.